2.3 KiB
Install Abra on Local Linux System
After installing WSL2 and Debian (or other Linux distribution) on your Windows system, you are ready to install the abra tool.
Here is the description of abra from it's git repository: abra is a command-line tool for managing your own Co-op Cloud. It can provision new servers, create applications, deploy them, run backup and restore operations and a whole lot of other things. It is the go-to tool for day-to-day operations when managing a Co-op Cloud instance. Abra is undergoing a rewrite and so it is deprecated. It's still in use on a daily basis, but it will be replaced.
-
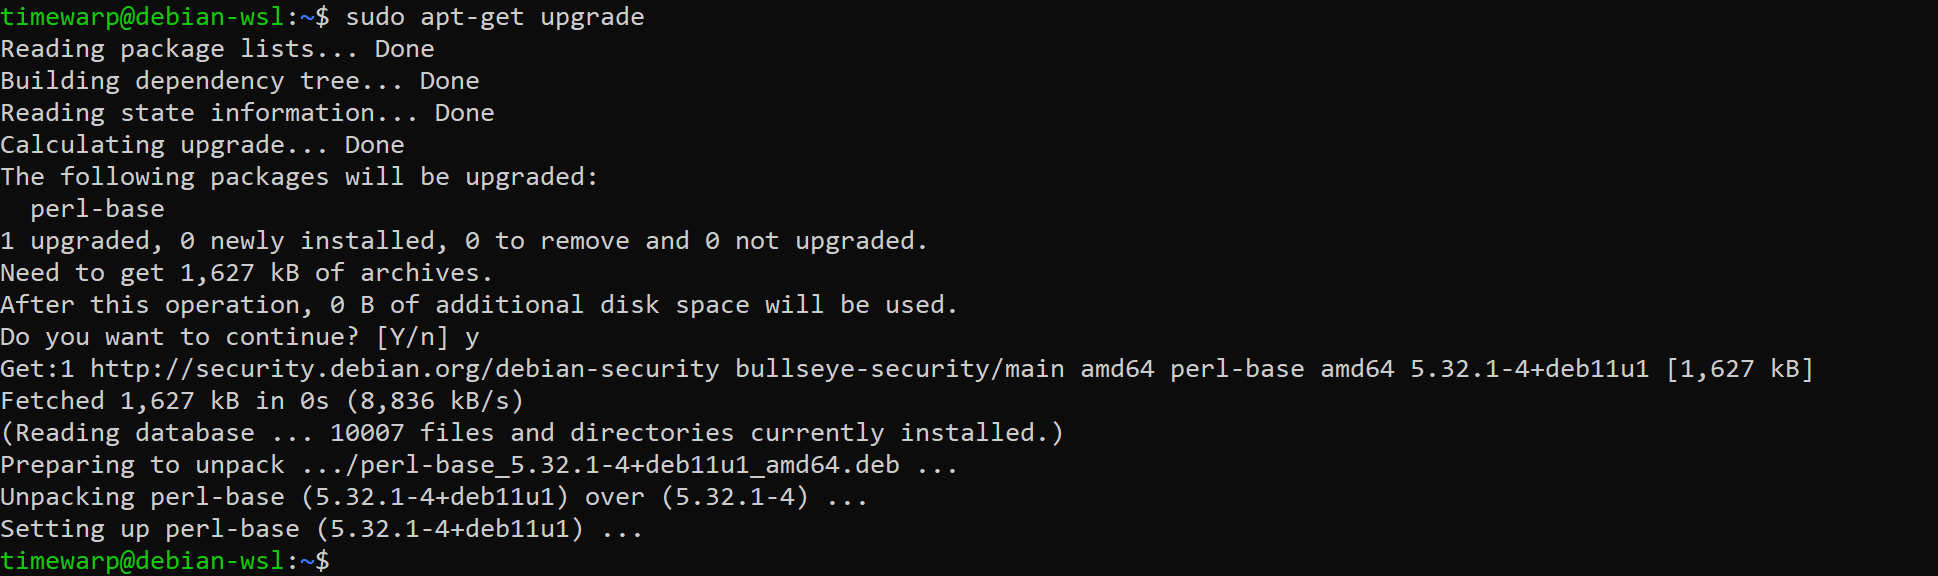
On a fresh Debian installation, you should run the following two commands to upgrade it:
sudo apt-get update
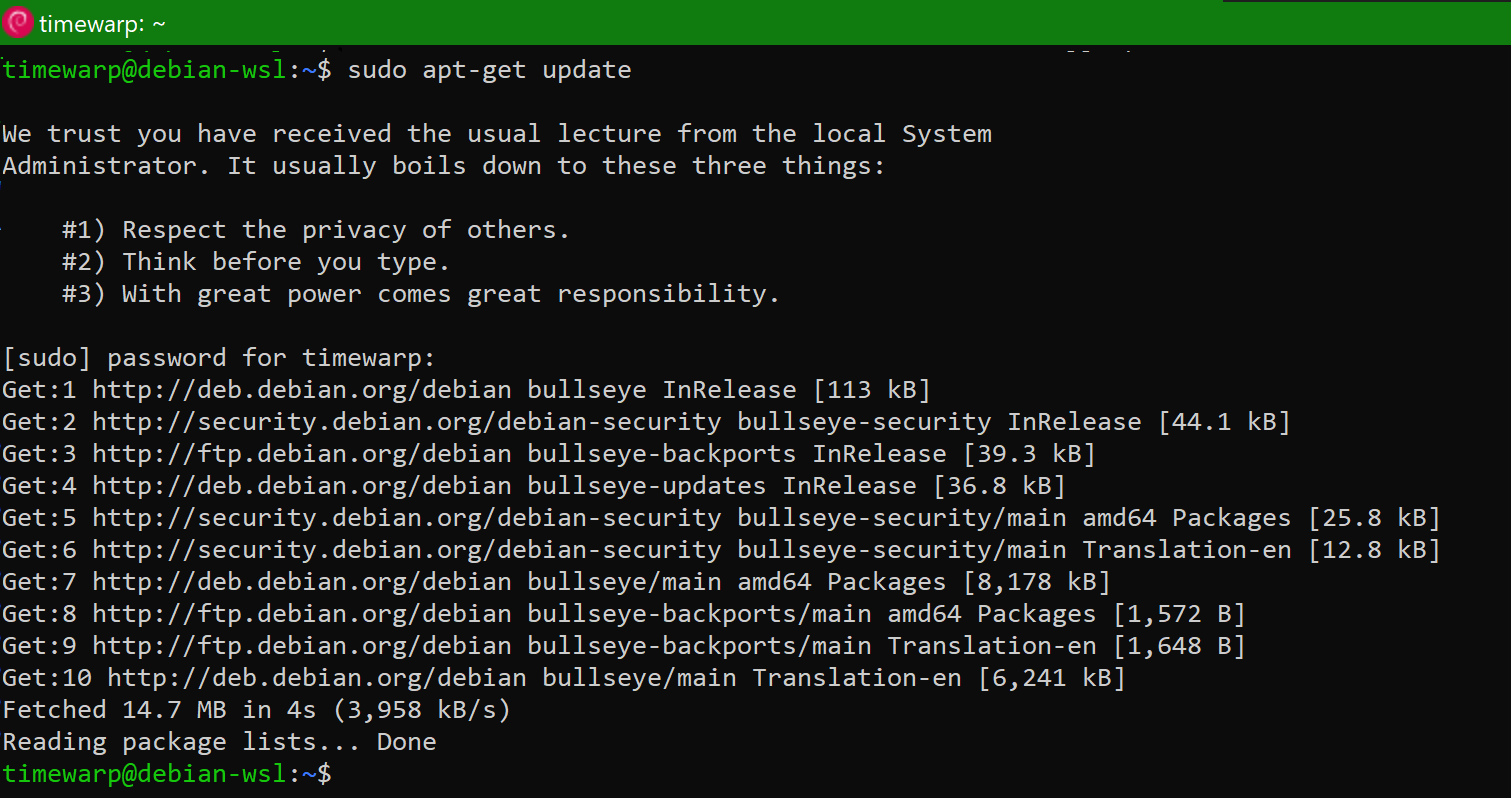
Note that Linux gives you a warning about having "received the usual lecture from the local System Administrator." This is because the
sudocommand gives the command you type (apt-get updatein this case) "root" privileges. Usingsudois similar to when you are doing something in Windows and theUser Account Controlwindow pops up and asks you to confirm before continuing with an action requiring elevated privileges. Whenever you typesudoin a Linux system, be aware you are using elevated system privileges.sudo apt-get upgrade
-
To download the script which will install abra, we need curl. Install curl and check it:
sudo apt install curl


-
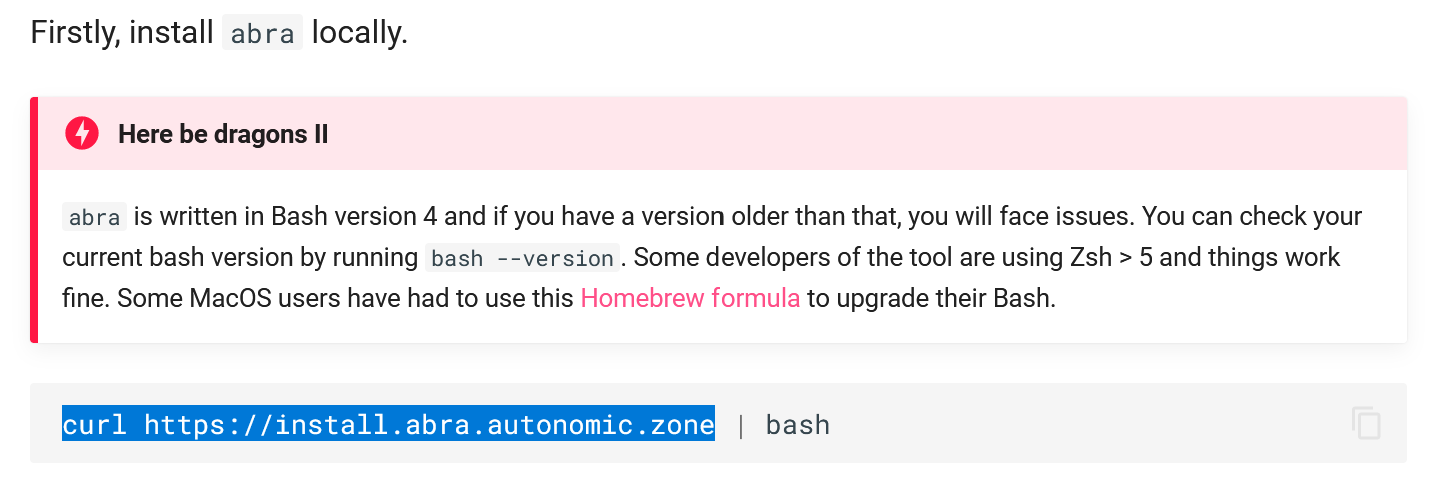
Now we are ready to get the abra installation script:

-
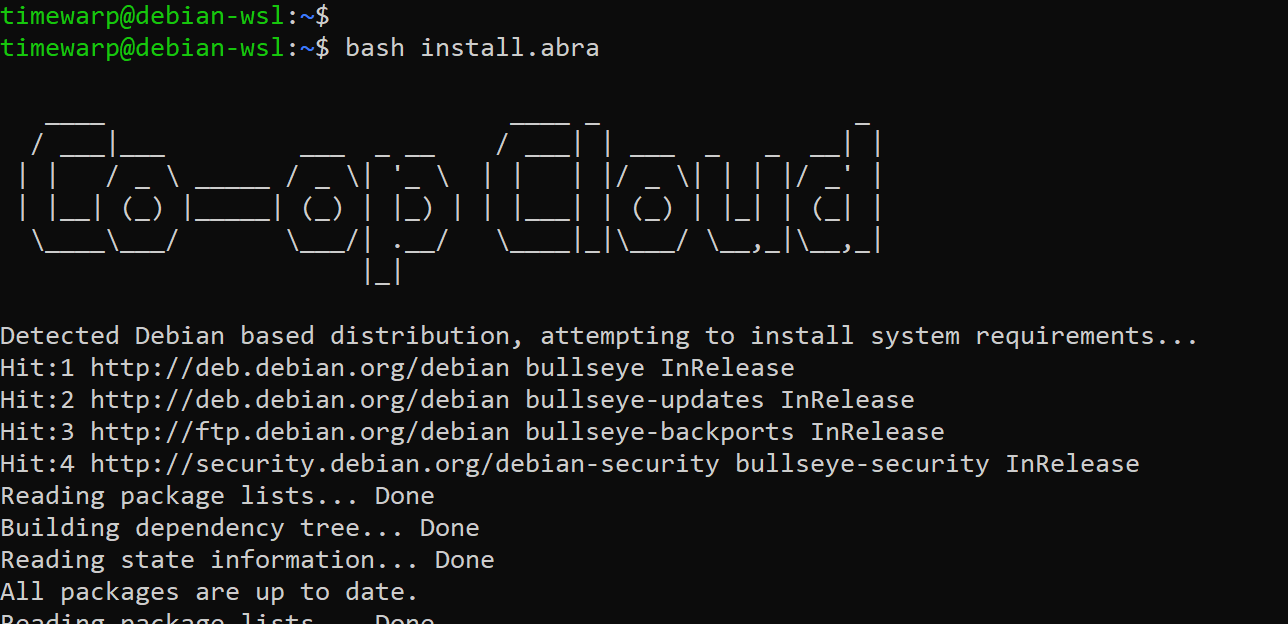
Run the abra installation script with bash:
-
The abra installation script will ask you if you want to install docker. Answer "y"

-
When abra installation script completes, update your PATH.
